
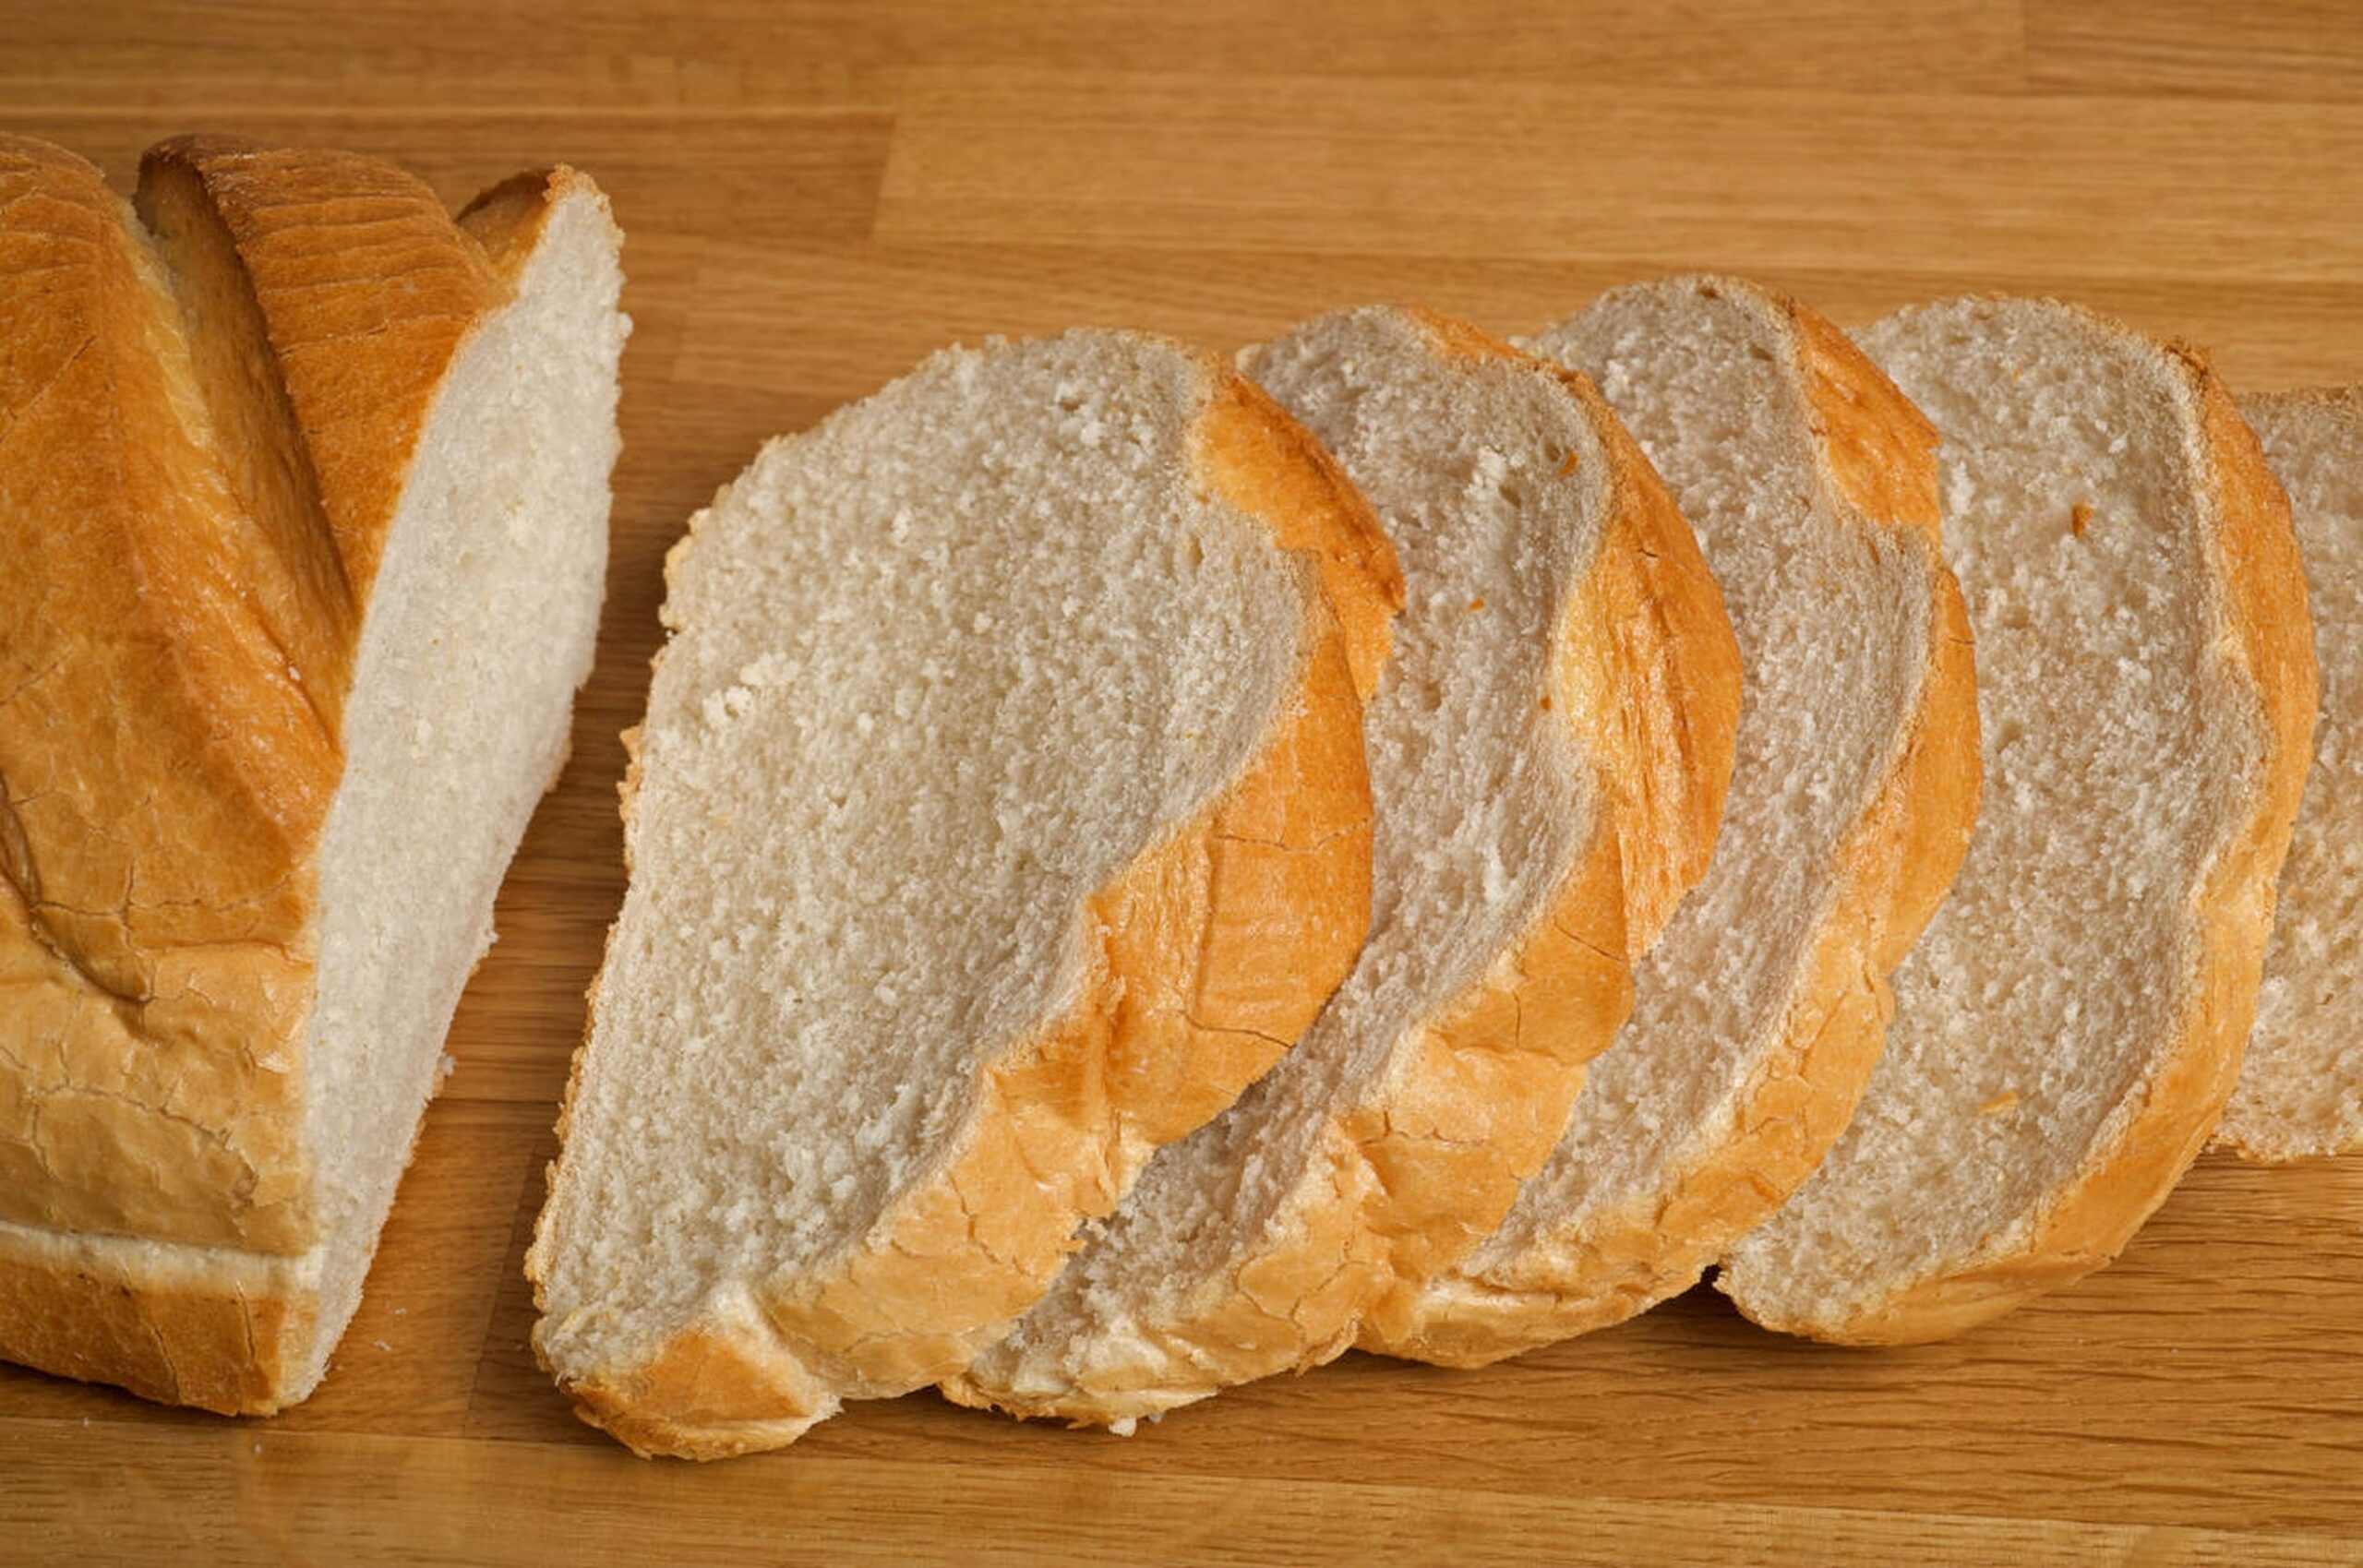
Bloomer bread is a traditional British bread that has won over many people’s hearts and palates. This bread is well-known for having a crispy outside and a soft, fluffy within. It goes well with toast, sandwiches, or just a little butter.
Ingredients
To create the perfect bloomer bread, it is essential to choose high-quality ingredients. Here’s what you will need:
Strong White Bread Flour: This kind of flour has more protein than all-purpose flour, which aids in the formation of gluten and provides structure to the bread.
Water: To properly activate the yeast, use lukewarm water. To guarantee the best yeast activity, the temperature should be approximately 37°C (98°F).
Yeast: You can use active dry yeast or fresh yeast. The dough will rise with both. Before adding the dried yeast to the flour, make sure to activate it in warm water with a pinch of sugar.
Salt: necessary for flavor and for regulating the activity of yeast. Additionally, it fortifies the structure of gluten.
Bloomer Bread Recipe
Preparing the Dough
Start by precisely measuring out your ingredients. Combine the yeast in a large mixing basin with the strong white bread flour and salt on one side of the bowl. Before combining, this separation stops salt from reducing yeast activity.
Then slowly pour in lukewarm water, working with your hands or a wooden spoon until a shaggy dough forms. Turn the dough out onto a lightly floured surface when it has been incorporated.
Kneading
For roughly ten minutes, knead the dough until it becomes elastic and smooth. You can employ the “push and fold” method, which involves using the heel of your hand to push the dough away from you and then folding it back over itself. Continue doing this, sometimes turning the dough.
Allow your dough to rest for extended lengths of time during fermentation if you prefer a no-knead method. This will assist generate gluten without requiring a lot of kneading.
The First Rise
Put the kneaded dough in a basin that has been lightly greased, then cover it with plastic wrap or a moist towel. In a warm place, let it rise until it has doubled in size, which normally takes one to two hours. It’s a good idea to put it in an oven that has been turned off but the light is still on because it produces a warm environment that helps it rise.
Forming the Loaf
Press down on the dough to gently deflate it once it has risen. Shape it into a rectangle after turning it out onto a lightly floured board. To make a loaf, fold the sides in toward the center and roll it tightly from one end.
The ultimate shape and crust of your loaf will be influenced by the surface tension created during the shaping process.
The Second Rise
Lay your formed loaf seam-side down on a parchment paper-lined baking tray or in a floured banneton. Place a moist cloth over it once more and allow it to rise for an additional hour until it is puffed.
Baking and Scoring
For the second rise, preheat the oven to 220°C (428°F). Score the top of your loaf with a sharp blade or razor right before baking to let steam out while it bakes and to give your bread a pretty design.
When preheating your oven, use a small pan filled with water at the bottom; this creates steam that promotes crust growth and gives you a crispy crust.
Put your bloomer in the oven and bake it for about twenty-five to thirty minutes, or until it is golden brown. Check the loaf’s doneness by tapping the bottom; when it’s done, it should sound hollow.
Cooling
After baking, take your bloomer out of the oven and allow it cool fully on a wire rack before cutting into slices. The loaf’s moisture can be redistributed during this cooling time, guaranteeing that every slice is flawless.
Avoid cutting into your loaf too soon, as this may cause the steam within to become trapped and cause sticky slices.
See also: Recipes for buttermilk scones
Tips for Perfecting Your Bloomer Bread
The water should be lukewarm (around 37°C or 98°F) to activate yeast, so make sure it’s neither too hot nor too cold.
Kneading Method: You may knead your dough more quickly if you have a stand mixer with a dough hook attachment.
Try Different Flavors: To enhance texture and taste, try scattering seeds, such as sesame or poppy seeds, on top before baking.
Storage: You can freeze slices of your bloomer bread for extended storage or keep it at room temperature for up to three days covered in a fresh towel.
Sourdough Variation: For a deeper flavor, use sourdough starter rather than commercial yeast if you’re interested in baking with sourdough.
Whole Grain Option: For extra nutrition and flavor variety, use whole wheat flour in place of some of your white flour.
Suggestions for Pairing
Because of its adaptability, bloomer bread goes well with a variety of foods:
Sandwiches: For substantial sandwiches with cheeses, meats, or veggies, use bloomer slices.
Toast: Avocado and poached eggs on top of toast slices create a sophisticated breakfast.
Companion for Soup: Warm slices are ideal for dipping and go well with filling soups or stews.
Cheese Board: Arrange slices beside a variety of cheeses and charcuterie on cheese boards.
In conclusion
In addition to being satisfying, baking bloomer bread is a fun way to engage with culinary traditions. You can learn to make this delicious loaf, which adds a lovely touch to any meal or snack time, with patience and effort.