
This buns for sliders recipe will guide you through making delicious homemade buns that will make your sliders even better.
A popular mainstay at get-togethers, parties, and informal dinners are sliders. With a range of flavors in a bite-sized container, these tiny sandwiches are ideal for entertaining.
The bun is essential to the whole experience, even though the filling is unquestionably important. The ideal slider bun should be soft, have a hint of sweetness, and be strong enough to support its contents without crumbling.
Ingredients
To create the perfect buns for sliders, you’ll need a selection of simple ingredients that come together to form a soft and fluffy dough. Here’s what you’ll need:
All-purpose flour: This is the base of your buns and provides structure.
Active dry yeast: Essential for leavening the dough and creating that airy texture.
Warm water: Activates the yeast; it should be warm but not hot to the touch.
Sugar: Adds a hint of sweetness and helps feed the yeast.
Salt: Enhances the flavor of the buns.
Unsalted butter: Provides richness and flavor; melted and cooled before adding to the dough.
Milk: Adds moisture and contributes to a tender crumb.
Egg: Acts as a binding agent and adds richness.
Buns For Sliders Recipe
Preparing the Dough
Making the dough is the first stage in creating your slider buns. Activate the yeast first. Put the yeast, sugar, and warm water (about 110°F or 43°C) in a small bowl. Give this combination a good five to ten minutes to settle until it starts to foam. The yeast is now active and prepared to do its magic, according to this.
Salt and all-purpose flour should be combined in a large mixing dish. Create a well in the middle of the flour mixture, then add the milk, one egg, melted, cooled unsalted butter, and the foamy yeast mixture. Mix with your hands or a wooden spoon until a shaggy dough forms.
After combining, turn the dough out onto a surface dusted with flour. It should be smooth and elastic after eight to ten minutes of kneading. Because it produces gluten, which provides the buns their structure, this procedure is crucial.
The First Rise
Once the dough has been kneaded, form it into a ball and transfer it to a basin that has been lightly oiled. To keep it from drying out, cover it with plastic wrap or a fresh kitchen towel. Let the dough rise in a warm location until it has doubled in size, about 1 hour. Because it enables the yeast to produce carbon dioxide and create air pockets that give your buns their fluffy texture, this rise is essential.
Putting the Buns in Shape
After the dough has risen beautifully, carefully punch it down to get rid of any extra air. Divide it into equal parts after turning it out onto a floured surface. Aim for slices of slider buns that weigh about two ounces each. Tuck the edges under to form each piece into a smooth ball.
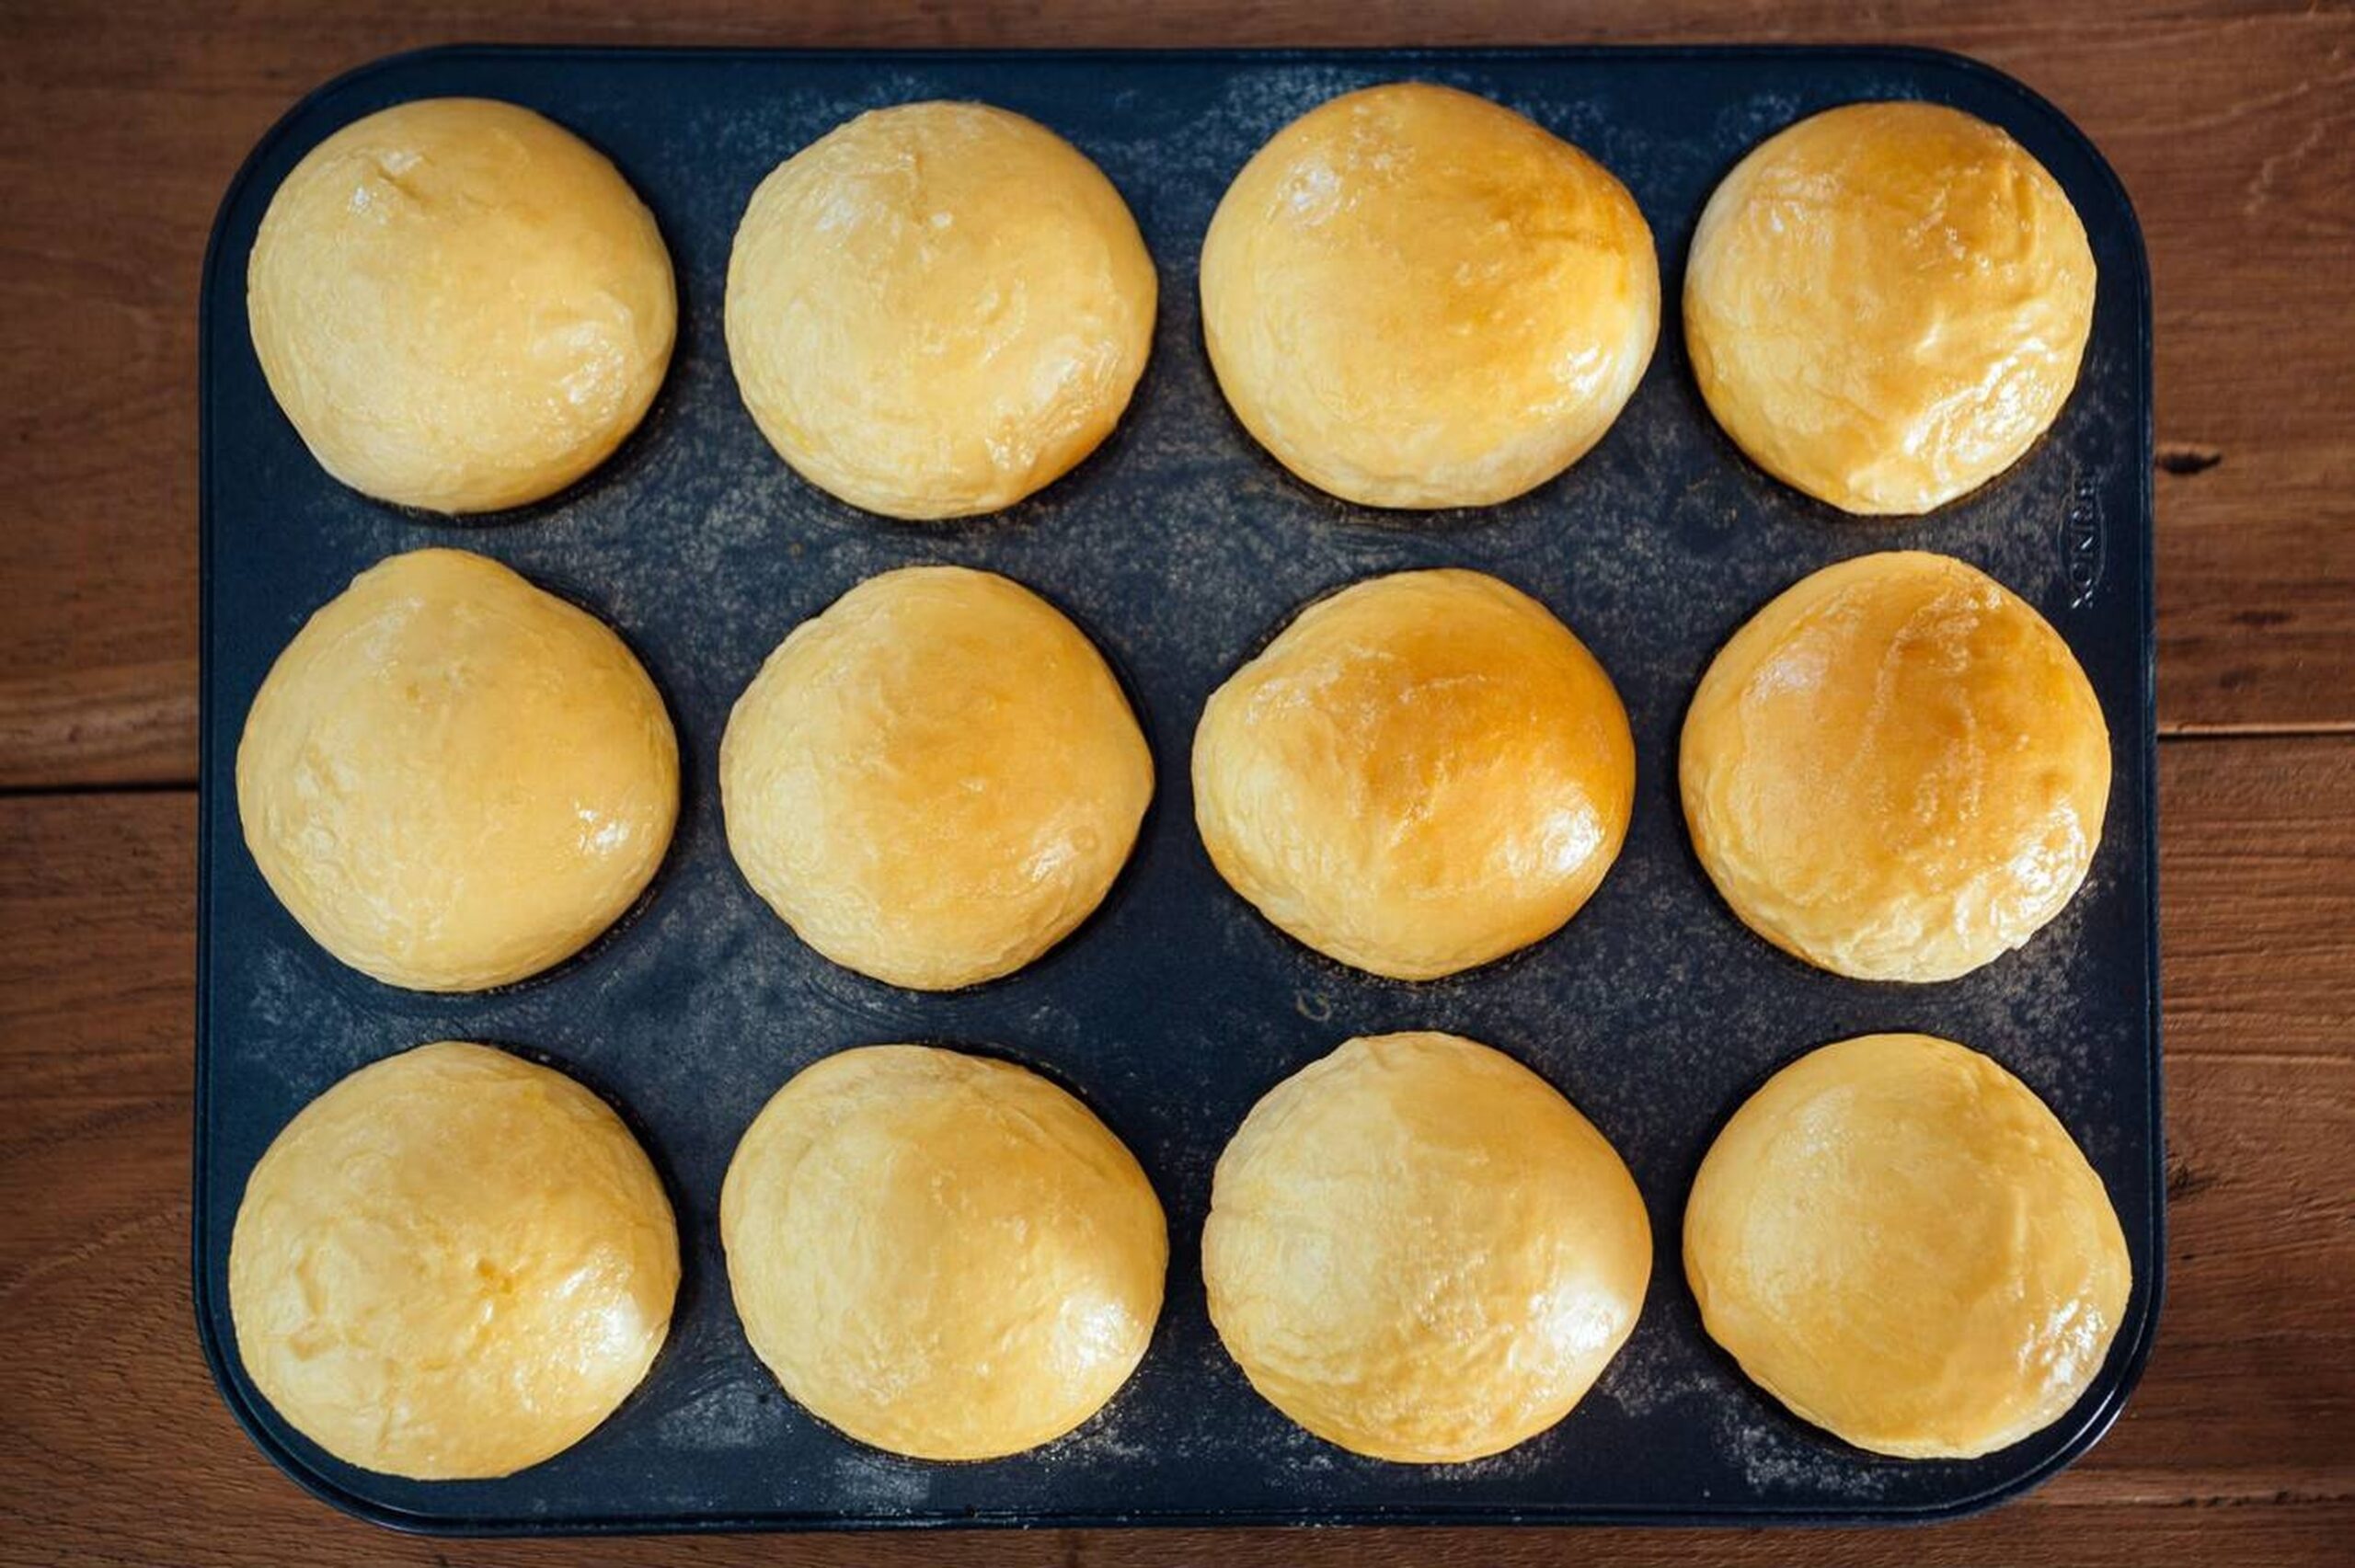
These dough balls will expand during their second rise, so leave extra room between them when you arrange them on a baking sheet covered with parchment paper. Put a kitchen towel over them once more and let them another half hour to rest.
The Second Rise
Preheat your oven to 375°F (190°C) for this second rising. When it’s time to put your buns in the oven, this guarantees that they will bake evenly.
Your buns ought to have neatly puffed up after half an hour. Before baking, brush them with an egg wash (prepared by mixing an egg with a tablespoon of water) for a little extra taste and sheen.
Making the Buns
After the oven has been warmed, put the baking sheet in and bake it for 15 to 20 minutes, or until the tops are golden brown. You won’t be able to resist the scent filling your kitchen! You may check if they are done by tapping the bottom of one bun; if it sounds hollow, it is.
Take them out of the oven and let them cool on a wire rack after baking. Since it preserves their texture, this cooling phase is crucial.
Cooling Advice
By allowing them to cool on a wire rack, you may prevent sogginess on the bottom by allowing air to circulate around each bun.
See also: Thick crust pizza dough recipe
Serving Suggestions
Now that your tasty buns for sliders are prepared, it’s time to consider the delectable fillings you wish to employ! Sliders’ versatility allows you to stuff them with everything from pulled pork to traditional cheeseburgers to vegetarian options like falafel or roasted vegetables.
Combinations of Flavors
Think about these well-liked pairings:
A classic cheeseburger consists of a juicy beef patty topped with ketchup, pickles, lettuce, tomato, and cheddar cheese.
Pulled Pork: Coleslaw is served alongside slow-cooked pulled pork covered in barbecue sauce.
Portobello mushrooms grilled with fresh mozzarella and pesto sauce are a vegetarian’s dream come true.
Buffalo Chicken: Crispy celery slaw and ranch dressing accompany spicy buffalo chicken tenders.
For an extra kick, try serving these buns with savory condiments like barbecue sauce, aioli, or spicy mayo. To improve presentation and taste, you can also add fresh ingredients like avocado slices, pickles, lettuce, and tomatoes.
Storage Advice
Buns can be kept for up to two days at room temperature in an airtight container if you have any left over (which is not often!). Consider freezing them for extended storage; just place each bun in a freezer bag after wrapping it tightly in plastic wrap. When you want to eat them again, you can defrost them at room temperature.
Instructions for Reheating
To bring frozen slider buns back to life:
Refrigerate overnight to thaw.
Reheat for approximately ten minutes at 350°F (175°C) in an oven until thoroughly heated.
As an alternative, microwave each bun for 15 seconds, being careful not to overcook them as this could cause them to become rough.
In summary
Making buns for sliders at home is not only simple but also very satisfying. With this recipe, you may wow your loved ones with fluffy, freshly baked buns that go well with any filling you decide on. These slider buns are likely to be a smash whether you’re serving them at a game day party or having a laid-back family supper.