
Cake with cake pops are easy to make if you have the right recipe, enter this quick and easy guide on making the best cake pop cake you’ll ever have.
Combining a traditional cake with vibrant, playful cake pops is a lovely way to up your baking game. Baking is an art that makes many people happy.
This recipe will show you how to make a tasty cake and some exquisite cake pops that look as good as they taste. This cake with cake pops is ideal for celebrations, parties, or just as a delicious treat at home. It is guaranteed to make an impression.
Ingredients
To create this delicious cake with accompanying cake pops and the cake pop cake, you will need the following ingredients:
For the Cake
All-purpose flour
Granulated sugar
Unsweetened cocoa powder (if making a chocolate cake)
Baking powder
Baking soda
Salt
Eggs
Whole milk
Vegetable oil
Vanilla extract
For the Cake Pops
Leftover cake (from the cake you baked)
Cream cheese frosting or buttercream frosting
Candy melts or chocolate for coating
Lollipop sticks
Sprinkles or edible decorations (optional)
Cake with Cake Pops Recipe
Preparing the Cake
First, preheat your oven to the proper temperature, which is typically 350°F (175°C). To make sure your cake comes out of the pans easily after baking, grease and flour them.
Mix the dry ingredients (flour, sugar, baking powder, baking soda, and cocoa powder, if using) in a large mixing basin. Combine these and stir until thoroughly blended. Because it guarantees that your leavening ingredients are dispersed uniformly throughout the flour, this step is essential.
Whisk the wet ingredients (eggs, milk, vegetable oil, and vanilla extract) in a separate basin. While the eggs aid in binding everything together, the oil gives your cake moisture. Stirring just until blended, gently add the wet components to the dry ingredients after they have been mixed. It is okay to have some lumps; just be careful not to overmix. A dense cake instead of a light and fluffy one can result from overmixing.
After your cake pans are ready, evenly pour the batter into them. For even layers, use two round pans when creating a layered cake. A toothpick inserted in the center should come out clean after 25 to 30 minutes of baking in a preheated oven. Depending on the size of your pans and your oven, the baking time may change.
After baking, let the cakes cool for ten minutes or so in their pans before moving them to wire racks to finish cooling. Cooling is a crucial step because if you frost a warm cake, the icing will melt and the presentation will be sloppy.
Making Cake Pops.
It’s time to make the cake pops while your cakes cool. Crumble the cakes into a large mixing basin after they have cooled fully. No big bits should remain; you want delicate crumbs. You can later build cohesive balls because of this disintegrating process.
Next, add your preferred icing—buttercream or cream cheese frosting are also excellent options. Use your hands or a spatula to thoroughly mix in a tiny amount at first. A dough-like consistency that holds together when rolled into balls is the aim. Add more frosting if needed to get the right consistency—you want it moist but not sticky.
When the mixture is done, cut it into small pieces and roll them into balls that are about 1 inch across. Put these balls on a parchment paper-lined baking sheet. This keeps things from sticking and facilitates cleanup afterwards. After all of your cake pops have been rolled out, let them firm up in the fridge for around half an hour.
Once chilled, melt your chocolate or candy melts as directed on the packaging. For this stage, you can use a double boiler or a bowl that is safe to use in the microwave. Overheating chocolate can cause it to burn quickly, so be sure to stir often.
Before putting a lollipop stick into each cake ball, dip one end of the stick into the melted coating to help hold it in place and keep it from falling out later. Once all the sticks have been inserted, completely cover each cake pop by dipping it into the melted coating. Before putting them back on the parchment-lined sheet, let any extra coating drip off.
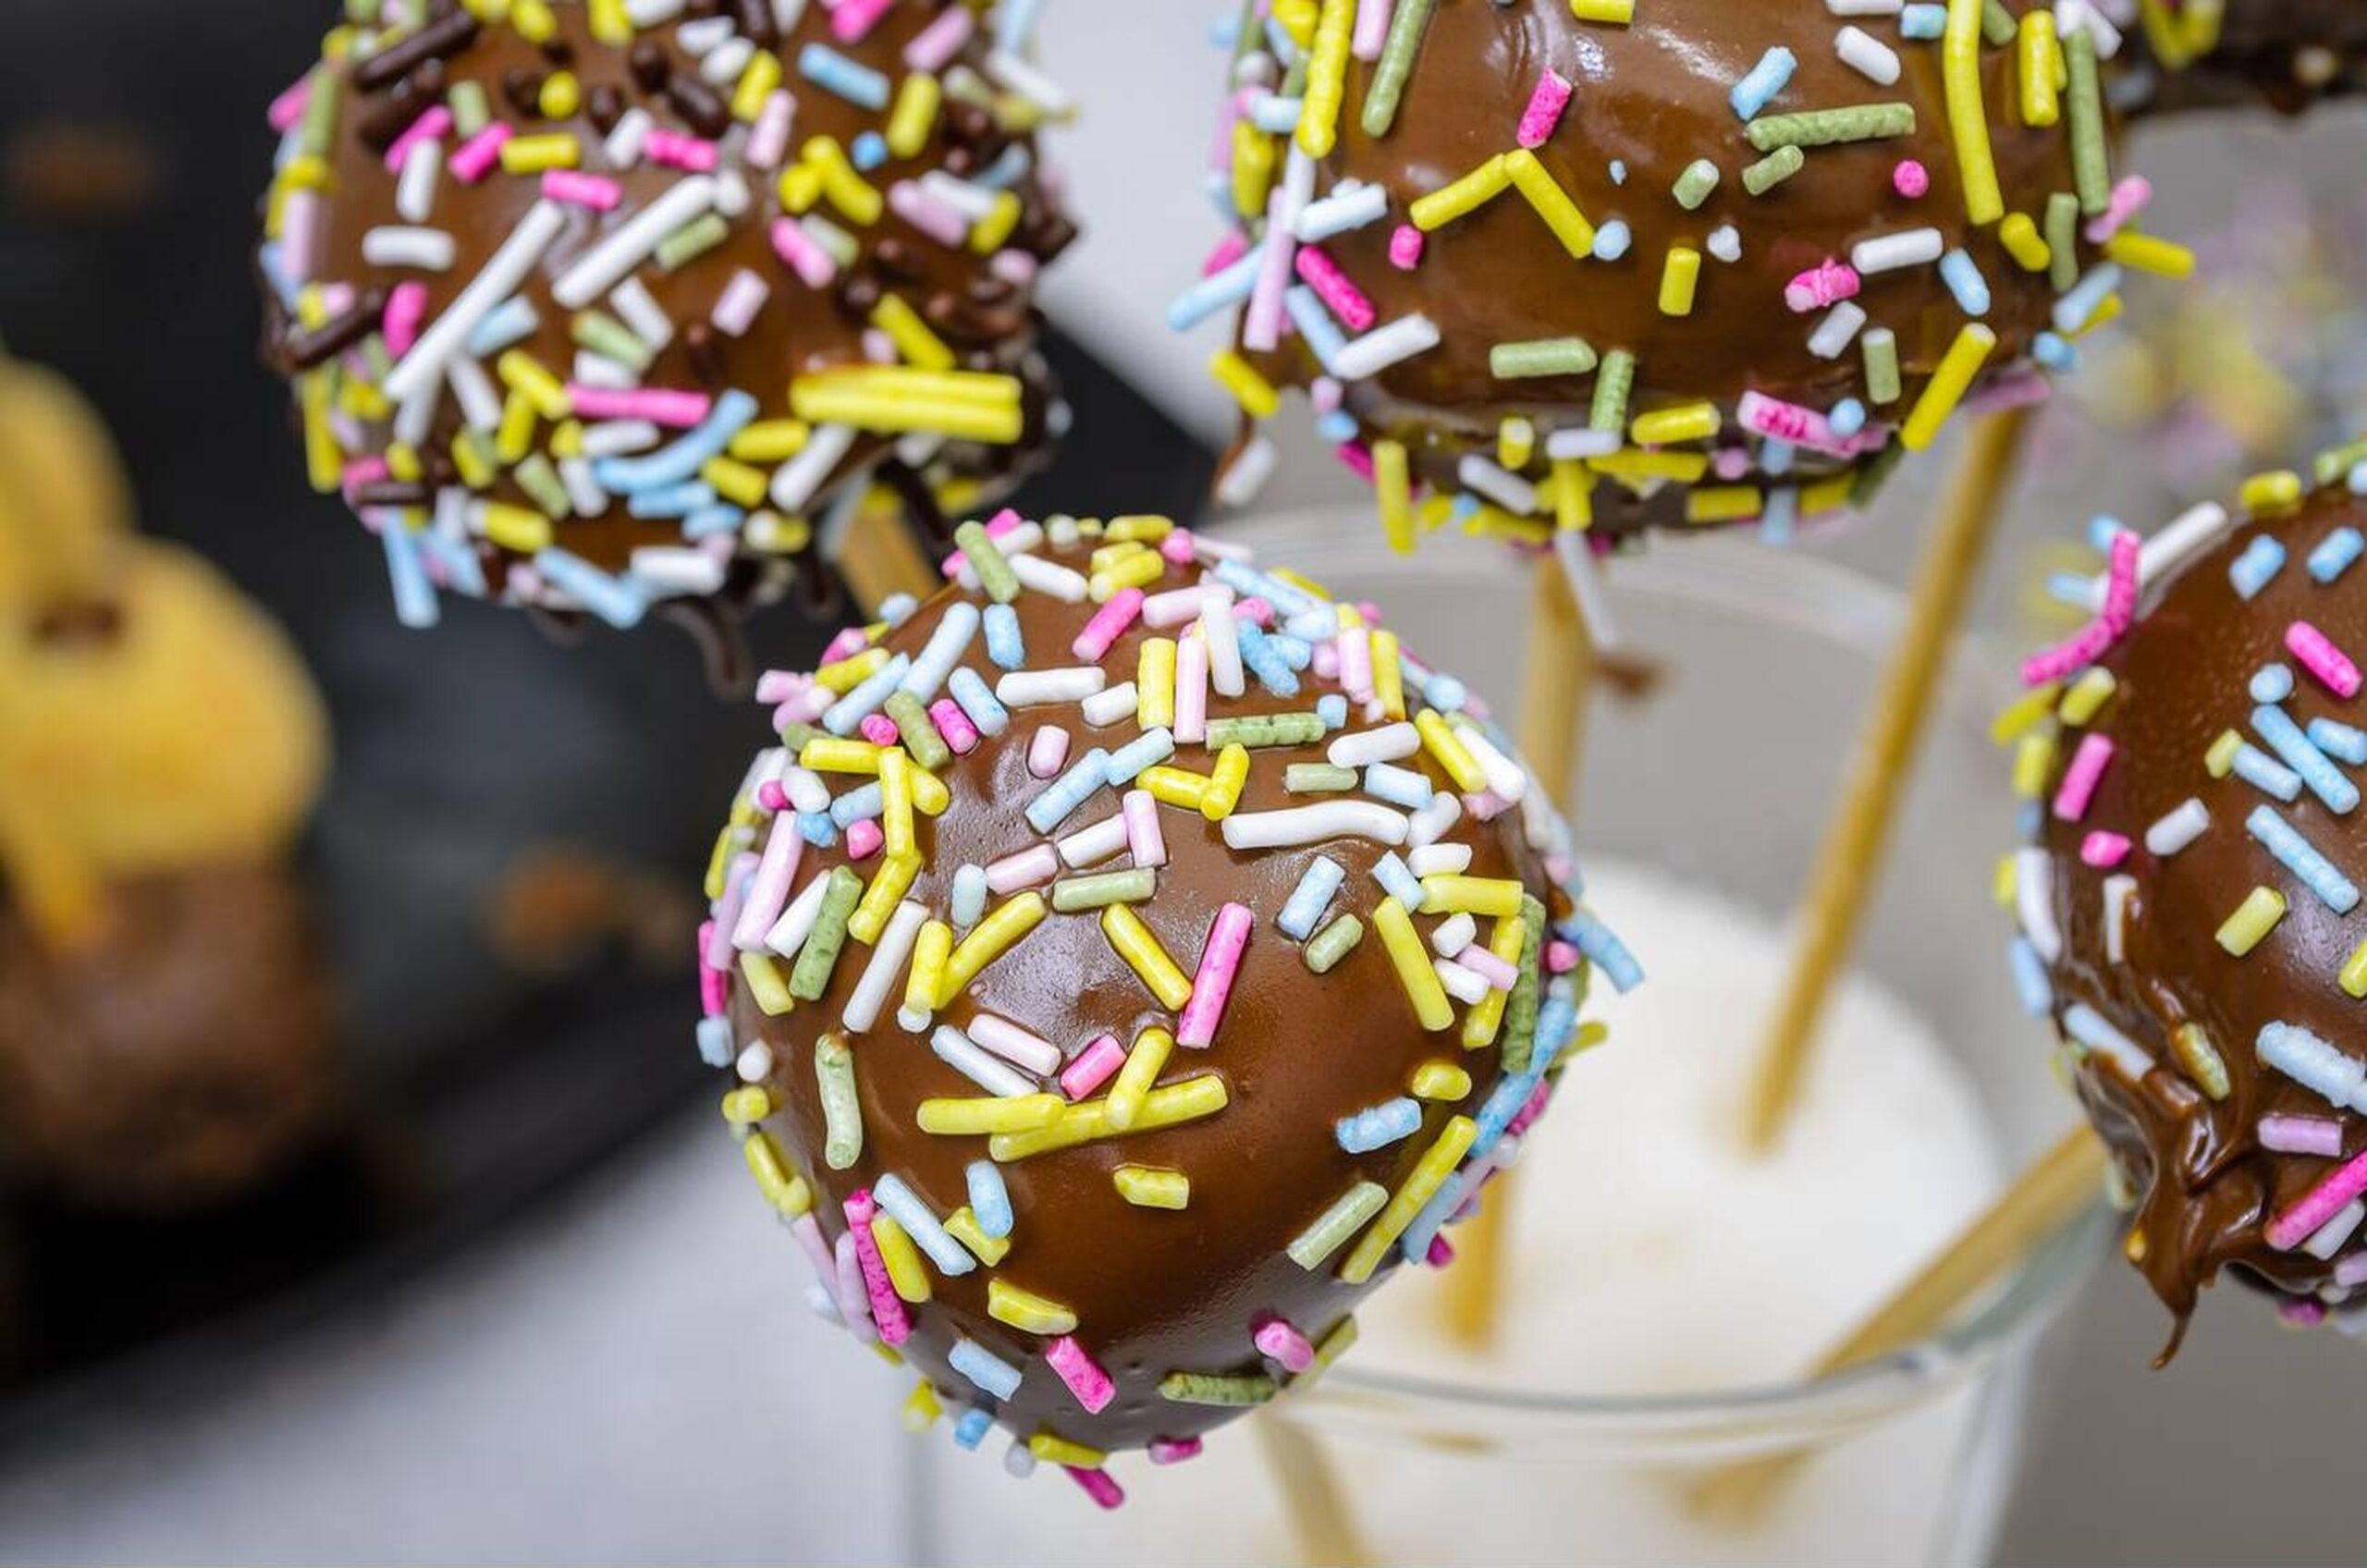
For optimum adhesion, add edible embellishments or sprinkles while the coating is still wet. For holidays or other special occasions, you can use themed sprinkles, which adds even more originality! After coating and decorating all of your cake pops, put them back in the fridge to set for around fifteen minutes.
Putting Your Cake Together Using Cake Pops
Your cake with cake pops are now prepared, therefore it’s time to put them together in a lovely way. For more height and decorating possibilities, think about cutting each layer of a multilayer cake in half horizontally.
First, place a single layer of cake on a stand or serving dish. If you’re stacking the cake high, evenly spread a layer of icing on top before adding another layer. Continue doing this until every layer is frosted and stacked.
The exciting part is about to begin: decorating! Remaining frosting can be used to decorate your cake with lovely swirls or designs. For extra visual appeal, think of using several colors of icing; elaborate designs are simple to construct using piping bags.
For a visually striking display, arrange your completed cake pops around the cake’s base or even place some inside the top. This gives guests easy access to both delicacies in addition to looking gorgeous.
Use your imagination when it comes to extra decorations, such as edible flowers, fresh fruit (berries are great), or decorations with a theme that fits your event.
See also: Fruit Cake
Serving Suggestions
From birthdays and anniversaries to holiday parties and informal get-togethers, this lovely blend of rich cake and whimsical cake pops is ideal for any event. Present individual cake pops and portions of the exquisitely decorated cake so that visitors can savor them at their own pace.
For an even more decadent treat, try serving this dessert with a dollop of whipped cream or ice cream. This sweet combination also tastes great with a hot cup of tea or coffee, which enhances flavors and balances sweetness.
Consider making themed displays for kids’ parties or festive get-togethers, where each pop symbolizes a unique concept, such as different colors for distinct flavors or forms that go with party themes.
Storage Advice
In the unlikely event that you have leftovers, you can refrigerate any leftover cake slices for up to a week or store them at room temperature in an airtight container for up to three days. Overnight resting frequently intensifies the flavors!
The cake with cake pops can be preserved in the same way, but to preserve their shape and freshness after being dipped in chocolate or candy melts, it’s best to keep them in the refrigerator. If you wish to make these in advance, you can also freeze uncoated cake balls; just thaw them before dipping them in chocolate when you’re ready!
Different Cake Pops
This recipe’s adaptability is one of its best features! Both your main cake and your cake pop cake can be altered to accommodate dietary requirements or personal preferences:
For a zesty take on classic vanilla cakes, try adding lemon zest. For seasonal versions, like pumpkin spice during fall celebrations, try adding spices like nutmeg or cinnamon.
Use gluten-free flour blends that are currently available in supermarkets in place of all-purpose flour for people who want gluten-free options; just make sure that additional components, such as baking powder, are also gluten-free!
You may also experiment with different fillings for each layer, such as adding nuts for texture or fruit preserves in between layers!
In conclusion
In addition to being satisfying, making a beautiful cake with cake pops is a fun activity that can be enjoyed with loved ones. This dish offers a delectable dessert alternative that will leave everyone wanting more, while also letting you play around with flavors and designs of the cake pop cake.