
Growing mushroom in coffee grounds at home is an exciting and sustainable endeavor, especially when using resources like coffee grounds that would otherwise be thrown away.
Everything from preparation to cooking will be covered in this article to help you cultivate blue-grey oyster mushrooms in coffee grounds. You will have a firm grasp on how to transform your kitchen scraps into a delectable food source by the end.
Materials Needed
To successfully grow mushrooms in coffee grounds, gather the following materials:
Used Coffee Grounds: Freshly brewed and cooled.
Mushroom Spawn: 100ml (approximately 60g) of blue-grey oyster mushroom grain spawn.
Glass Jar: A 1-liter glass jar with a metal lid (ensure to drill two 1cm holes in the lid).
Isopropyl Alcohol Wipes: For sterilization.
Micropore Tape: To cover the holes in the jar lid.
Metal Spoon: For mixing.
Thermometer: Optional, for monitoring temperature.
Spray Bottle: For misting water to maintain humidity.
Growing Mushroom in Coffee Grounds
1. Sterilization
Sterilizing your workplace and equipment is essential before starting the cultivation process to avoid bacterial or mold contamination:
Hands: Use hand sanitizer after giving your hands a good wash with soap and water.
To disinfect the glass jar and lid, wash them with hot soapy water and bake them for 15 minutes at 180°C (350°F).
Metal Spoon: Spend a few minutes immersed in boiling water.
Work Surface: Wipe down after applying an antibacterial cleaner spray.
2. Getting Coffee Grounds Ready
Coffee grinds are used as a growing medium for mushrooms. Here’s how to get them ready:
Use a filter coffee machine or a comparable device to brew four to five tablespoons of fresh coffee grinds. Let them drain until they are cool, about 4 hours.
To prevent the growth of mold, make sure the grinds are no more than 24 hours old.
To improve the aeration and nutrient content, you can optionally combine the cooled coffee grounds with some cardboard or straw.
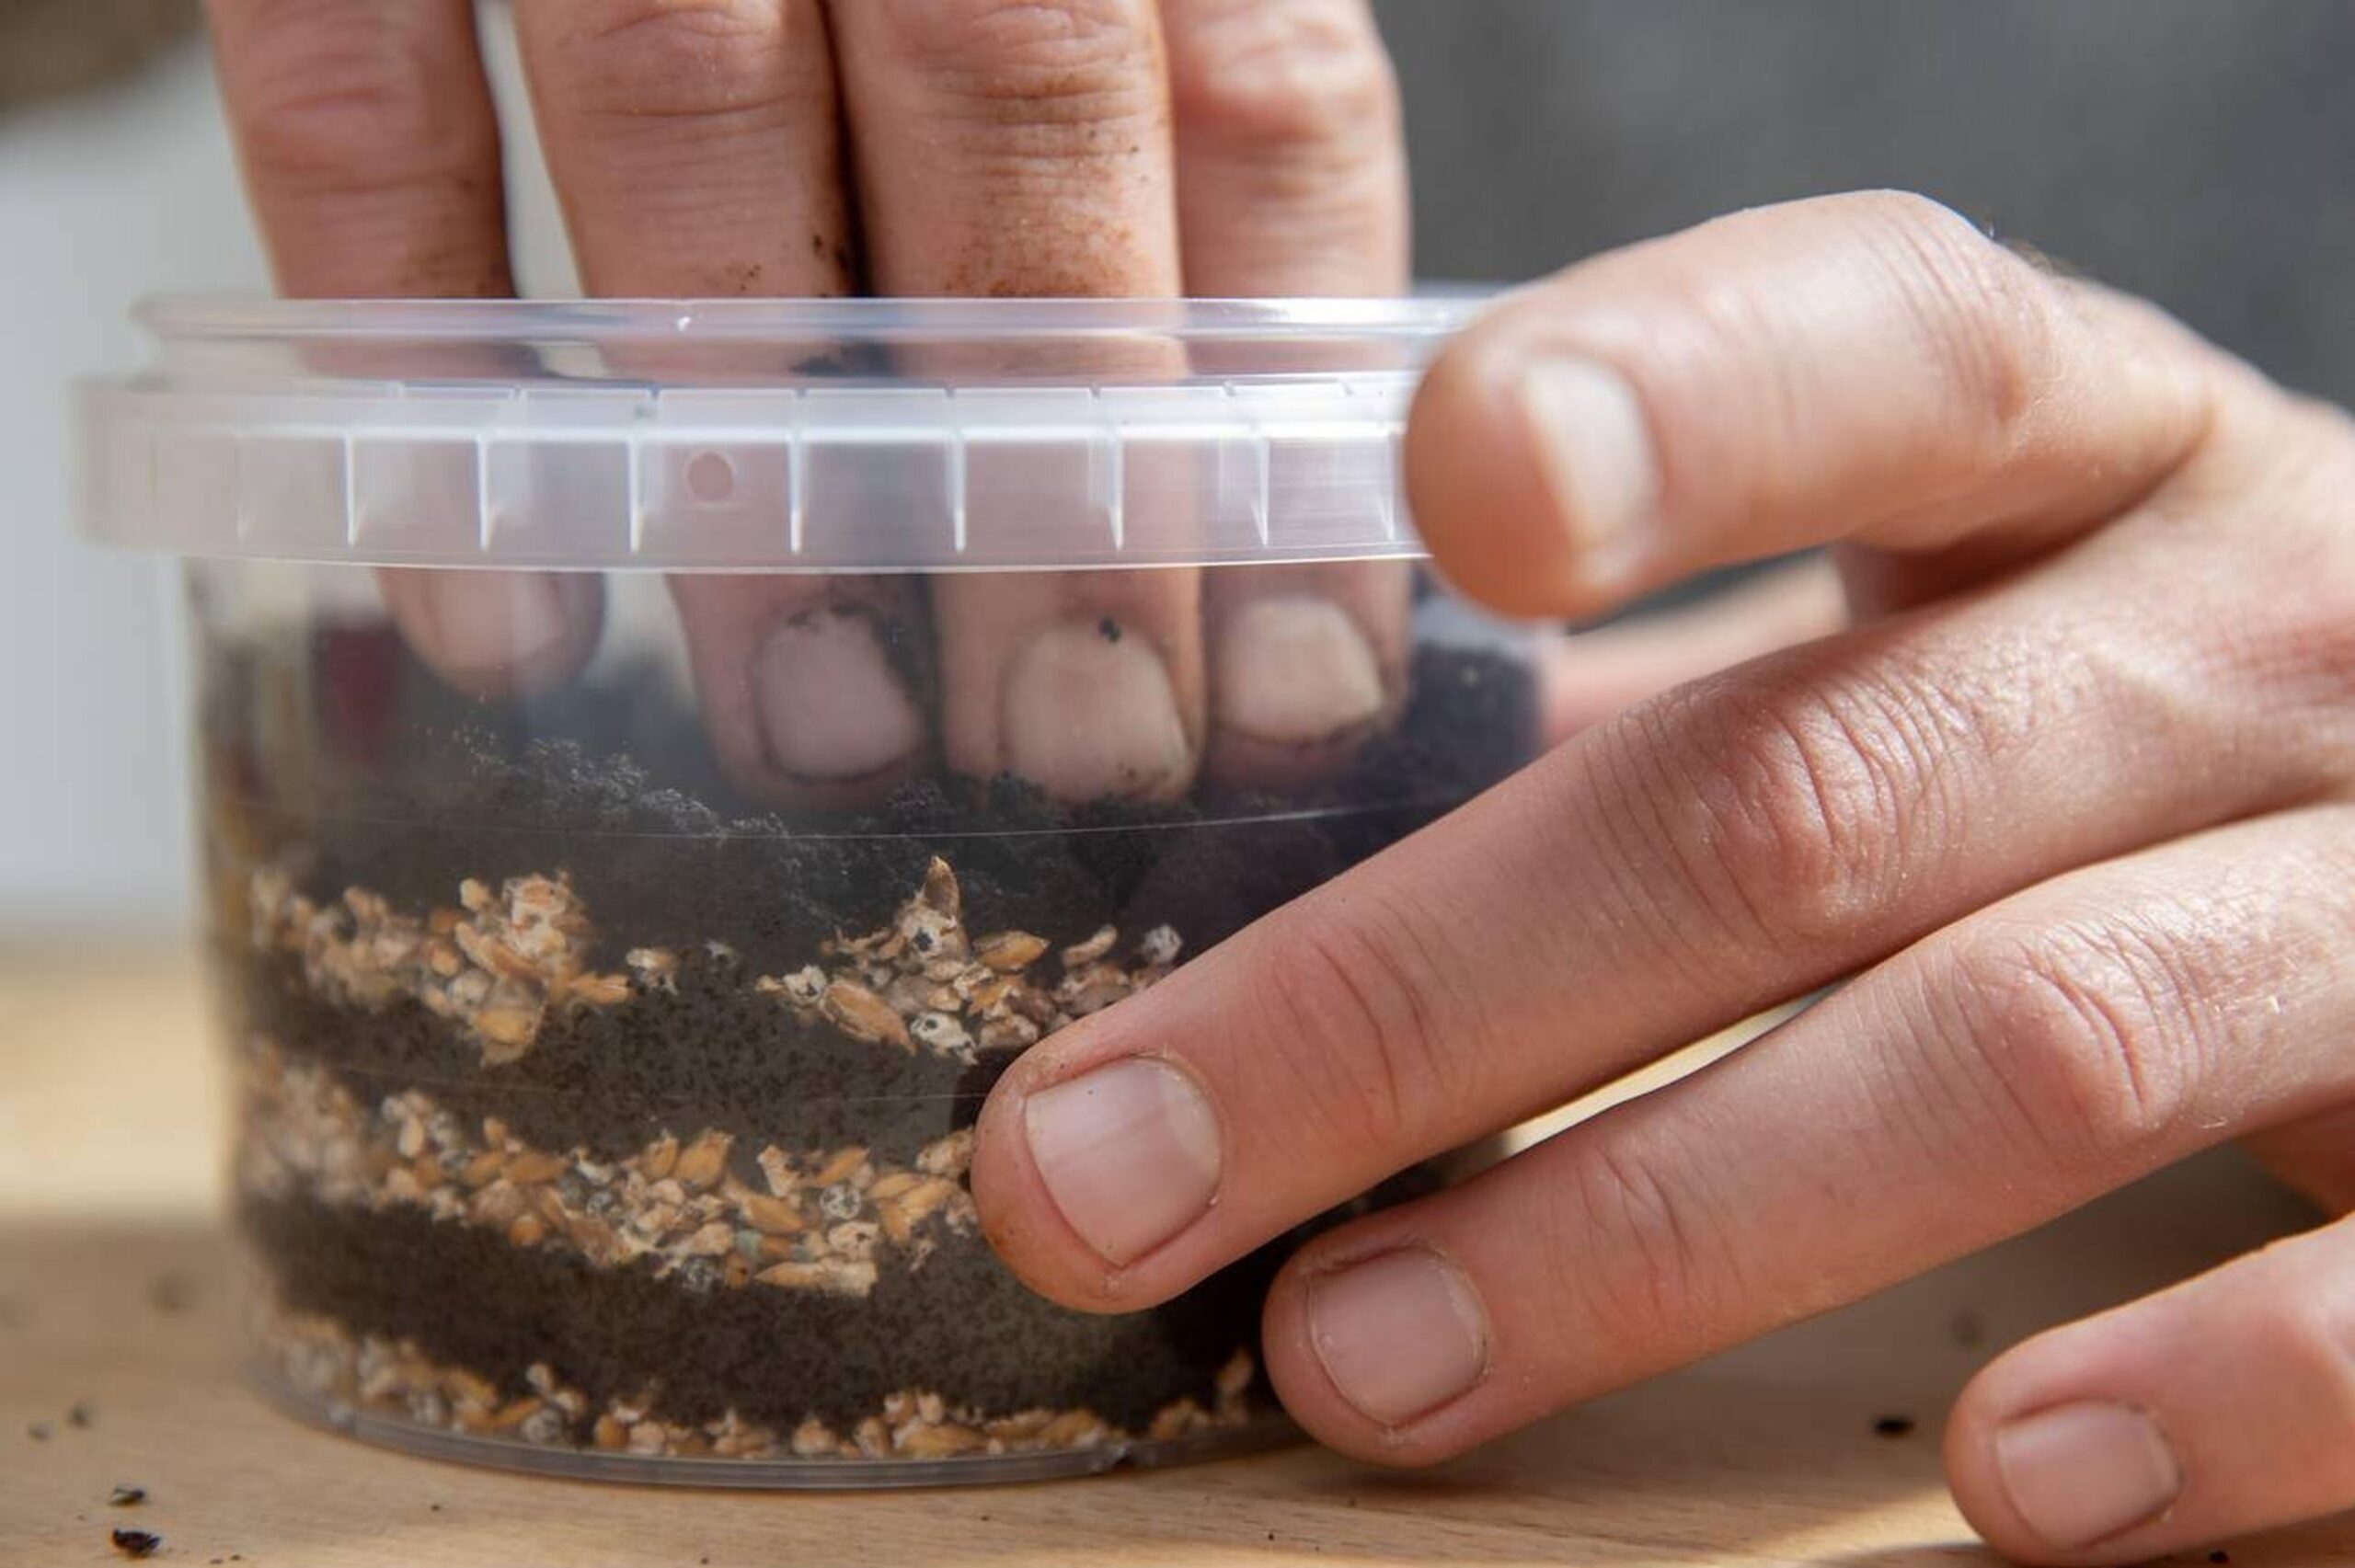
3. Inoculation
After preparing your coffee grinds:
The cooled coffee grinds should be spooned into the glass jar until it is approximately three-quarters full.
Using a clean metal spoon, thoroughly mix the mushroom spawn from your bag with the coffee grinds.
To permit air exchange while keeping pollutants out, firmly close the jar lid and seal the holes with micropore tape.
Phase of Incubation
The inoculation jar should be placed in a warm, dark place that is between 18°C and 20°C (64°F and 68°F). During this stage, the coffee grounds might be colonized by the mycelium, which is the root structure of mushrooms.
Monitoring Colonization
Every day, look for indications of colonization in your jar. As the mycelium grows, the coffee grinds will start to turn white and fuzzy. Usually taking two weeks, this process can go longer or shorter depending on the surroundings.
Indications of Proper Mycelium Development:
The substrate is being covered in white mycelium.
a nice earthy scent; stay away from any unpleasant or harsh smells.
Conditions for Fruiting
After colonization is finished:
Take off the jar’s lid and set it somewhere light and out of direct sunshine.
To keep the humidity levels stable, place a moist kitchen roll or towel over the top.
To keep the kitchen roll damp but prevent water from collecting in the jar, mist it every day with your spray bottle.
Tiny mushroom pinheads should start to emerge after a few days of these conditions—this is an exciting time!
Perfect Conditions for Fruiting
To maximize fruiting, keep humidity levels between 80% and 90%.
Make sure the air around your growth space is well circulated.
Maintain temperatures in the range of 15°C to 20°C (59°F to 68°F).
How to Gather Mushrooms
When their crowns start to flatten out and before they start to release spores, mushrooms are ready to be harvested. Harvesting: To avoid contaminating subsequent flushes, gently twist off the entire cluster at once, leaving no stalks behind.
If need, use a sharp knife, but take care not to harm other mushrooms that are still growing.
Storage Advice
You may keep freshly picked mushrooms in the fridge for up to a week in a paper bag. Steer clear of plastic bags since they retain moisture and can cause spoiling.
Several Flushes
The ability of mushrooms to generate several flushes from a single inoculation is one of the fascinating features of mushroom cultivation:
Once the initial batch has been harvested, place a damp kitchen roll over the jar once more and spray as previously.
One inoculation may result in two or even three flushes before you need to start anew.
Even while each succeeding flush may produce fewer mushrooms than the one before it, a satisfying harvest can still be obtained.
Using Your Homegrown Mushrooms in Cooking
Because of their delicate flavor and texture, fresh blue-grey oyster mushrooms can be used in a variety of dishes:
Uses in Cooking:
Omelets: Flavor and depth are added by sautéed mushrooms.
Stir-fries: Add protein and veggies for a wholesome supper.
Roasted or Grilled: Just season them and serve them as a side dish.
Soups and Stews: Give sauces and broths more depth.
Common Issues
Although cultivating mushrooms can be simple, there are a few obstacles you might face:
Contamination
Contamination is common when growing fungi, therefore throw away jars that have strange colors (black, green) or smells right away.
Slow Development
If the growth of mycelium seems to be slow:
Verify that the temperature stays between the ideal ranges of 18°C and 20°C.
Inadequate Fruiting
If no pinheads appear:
If required, use a humidity dome or mist more regularly to increase humidity.
Conclusion
Growing mushroom in coffee grounds is an enjoyable project that blends delicious food with sustainability. You can grow tasty blue-grey oyster mushrooms at home with little equipment and little work. You and the environment benefit from this strategy since it not only helps reduce food waste but also gives you fresh ingredients for your meals!
In addition to enjoying homegrown mushrooms, you’ll also be able to reduce waste and broaden your culinary horizons by following this thorough instruction! Cheers to the mushroom’s growth!
See also: Kachagolla