
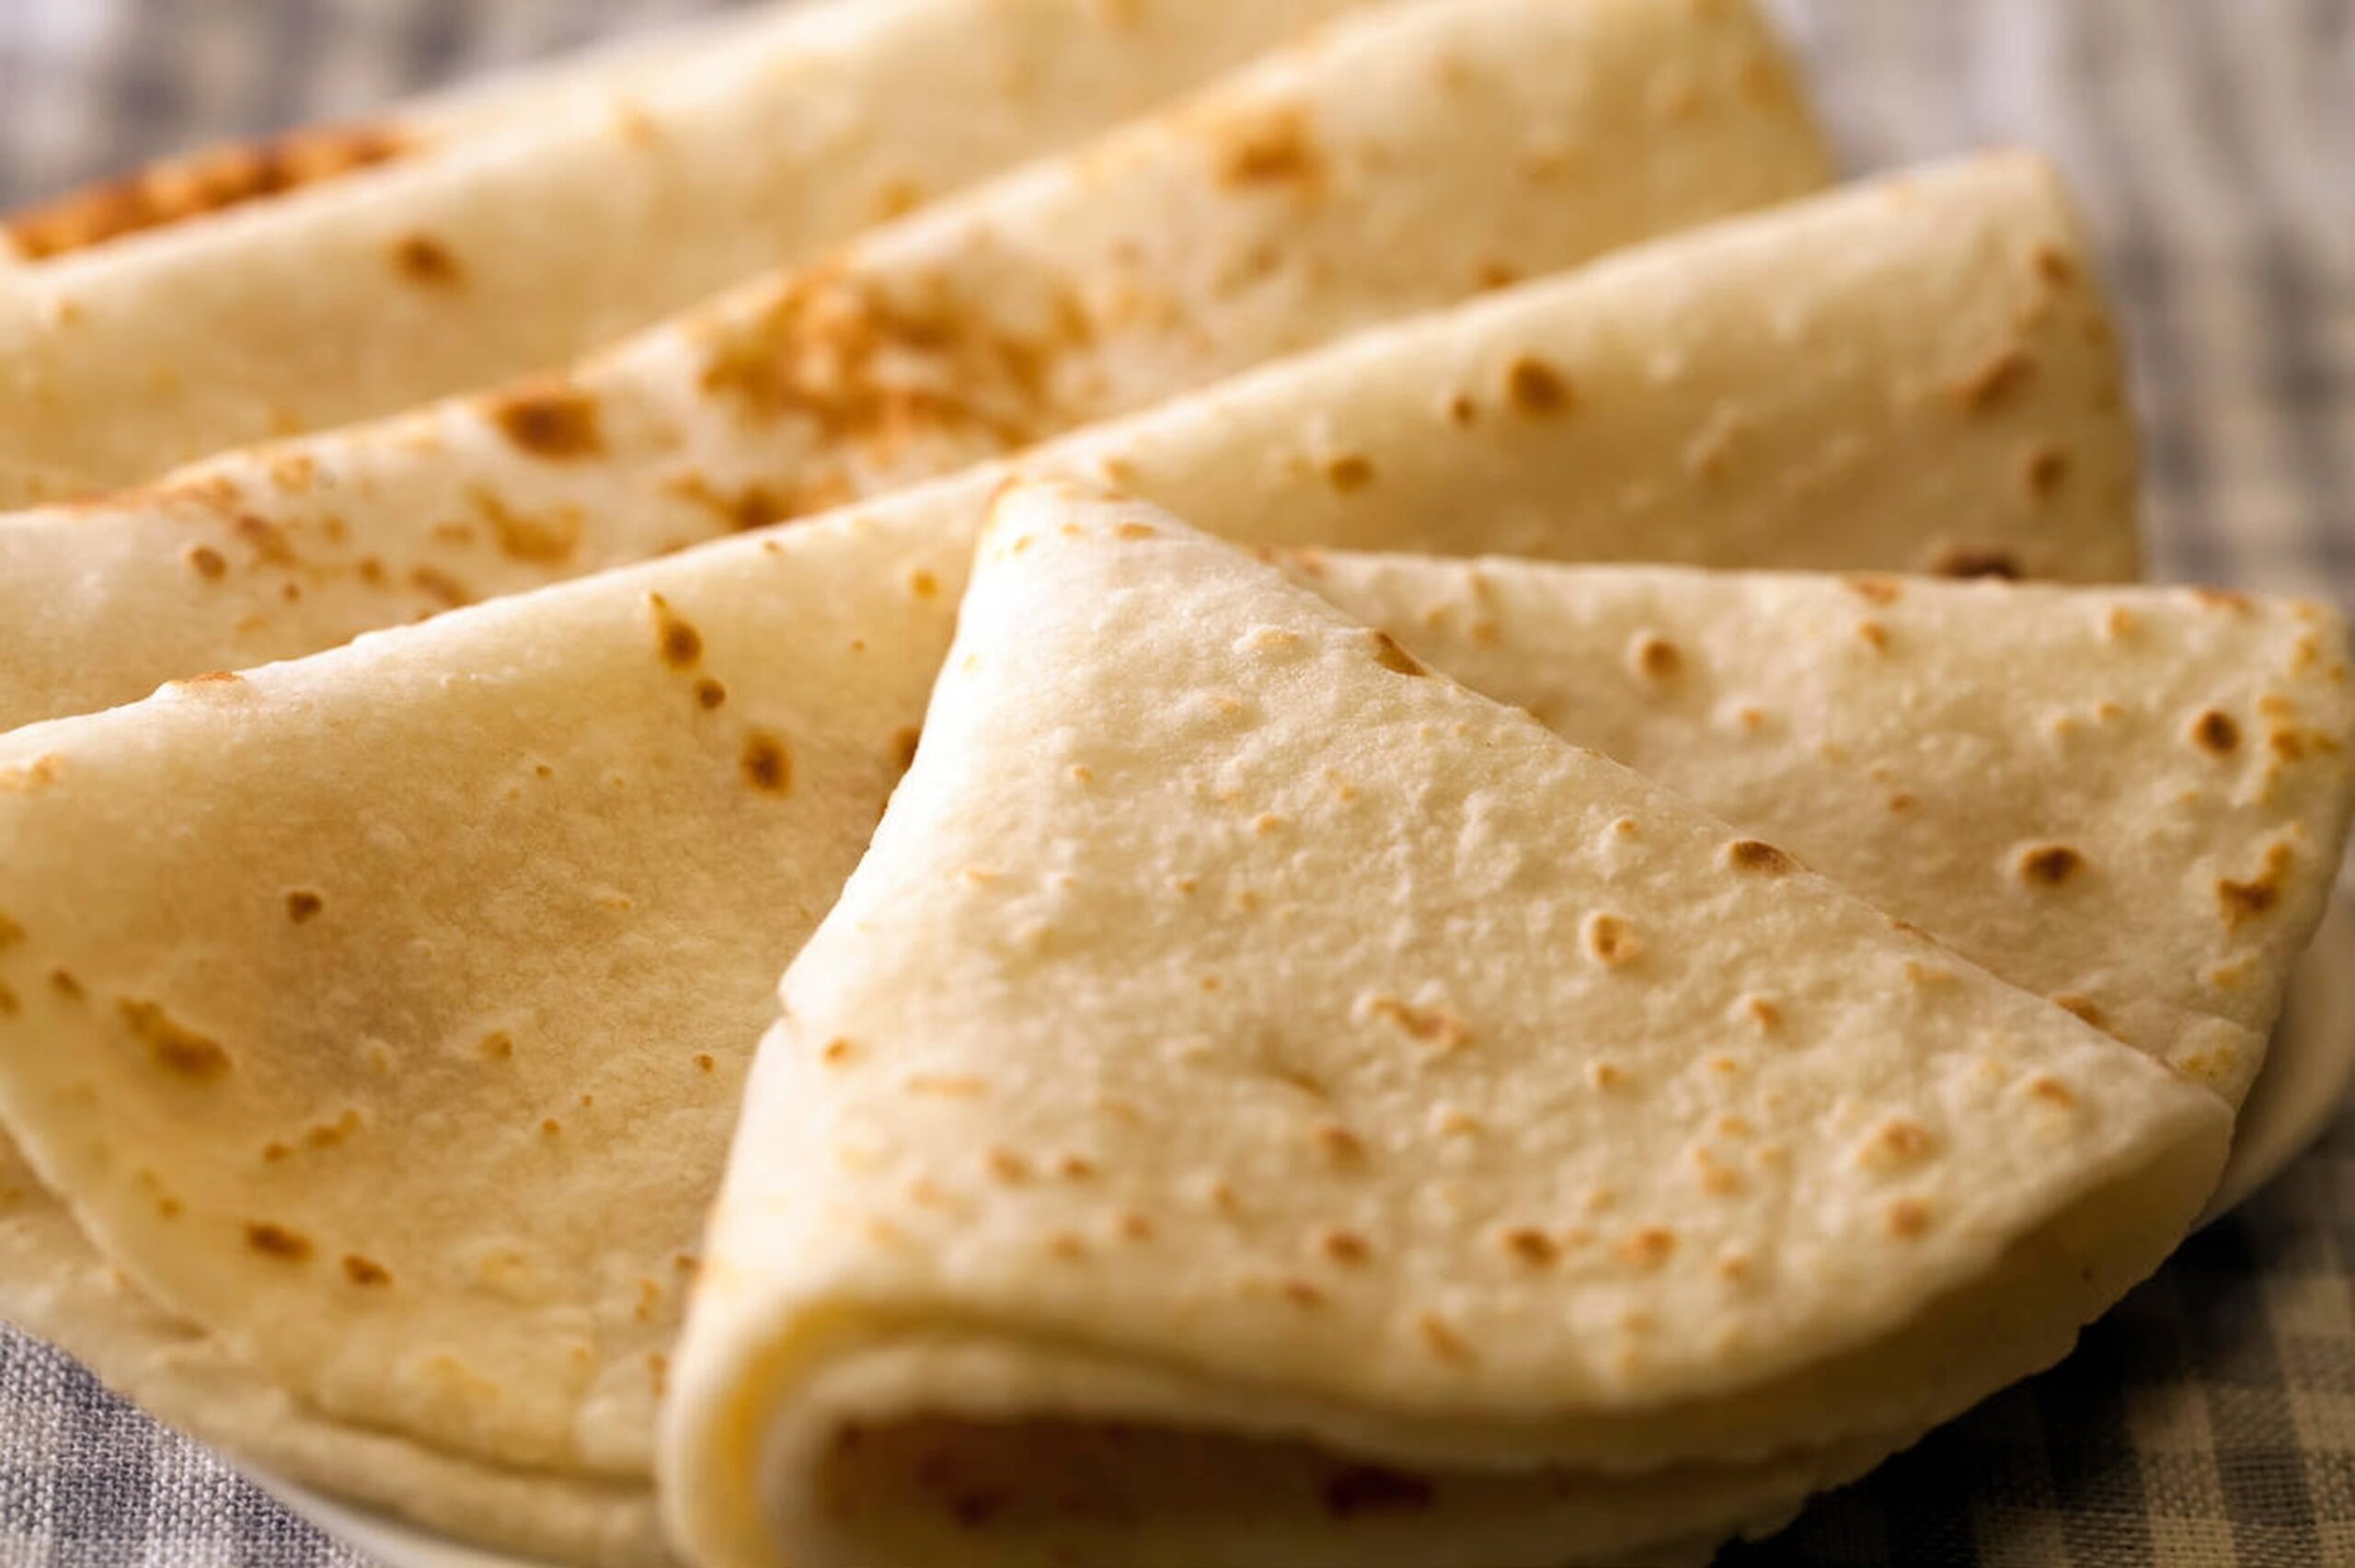
Today you will learn my all-time classic roti recipe which makes an amazing soft butter roti that the whole family will enjoy with their favorite curries.
More than just a flatbread, roti is a cultural icon that personifies South Africa’s diverse culinary culture, especially among Indian communities.
This unleavened bread is a favorite staple in many homes since it goes well with a wide variety of foods. Rotis are a great way to add flair to any dinner, whether you’re eating them with butter, a savory stew, or a spicy curry.
Ingredients
Flour: 2 cups (500ml) of cake wheat flour or all-purpose flour, sifted
Butter: 4 tablespoons of melted butter, plus extra for brushing
Water: 1 cup (250ml) of boiling water
Salt: A pinch (optional)
Roti Recipe
Mixing the Dough
Sift the flour into a large mixing bowl to begin. Sifting guarantees a consistent texture and aerates the flour. If preferred, add a pinch of salt after sifting. Although optional, this step can improve your rotis’ overall flavor.
Add the melted butter and stir until the flour is the consistency of coarse breadcrumbs. Fat must be added since it covers the flour particles and makes the rotis softer.
Then slowly add the boiling water. This should be done slowly, stirring with a spoon or fork. Mixing until a moist, lumpy dough is achieved is the aim. Take care not to get burned by the hot water!
Kneading the dough
Before kneading, let the dough cool a little after mixing. It may feel sticky at first, but with constant kneading, it will become a smooth, elastic ball. Because it produces gluten, which gives your roti its distinctive chewiness, kneading is essential.
On a lightly floured surface, knead for 5 to 10 minutes, or until the dough is elastic and smooth. After kneading, add a bit more flour if your dough is still too sticky.
Once the dough has been kneaded, cover it with plastic wrap or a moist cloth and leave it to rest for 15 to 30 minutes. The gluten can relax during this resting time, which facilitates rolling out and produces softer rotis.
Rolling Out the Roti
Divide your dough into equal chunks when it has rested; for manageable proportions, about eight pieces will work fine. Using your palms, roll each piece into a ball. Each ball should be slightly flattened on a lightly floured surface before being rolled out into a circle about 20 cm in diameter with a rolling pin.
Make sure your roti is uniformly thick when you roll it out. You may need to add more flour if the dough sticks to your surface or rolling pin. Patience is essential in this situation; roll out each piece evenly over time to ensure consistent frying.
Preparing the Roti
Over medium heat, bring a nonstick pan or tawa to a temperature that is hot but not smoking. Gently transfer the rolled-out roti onto the pan after it has heated up. Let it cook for about 30 seconds, or until tiny bubbles begin to appear on the top.
Turn the roti over with a spatula or tongs and cook for another 30 seconds. It should puff up when you turn it over, which means it’s cooked to perfection. To guarantee consistent cooking and to add flavor, brush the roti with melted butter before turning it over once more.
Until all of the rotis are cooked, keep doing this. When done, each roti should be soft and malleable with golden-brown patches on both sides.
See also: Chicken Akni
Tip: While the ingredients for making this soft butter roti recipe are little, it all comes down to the method and technique which makes a huge difference in how the roti comes out.
Storing and Serving
After cooking, place the rotis in a paper towel-lined container to keep them warm and absorb excess moisture, which will keep them soft. To keep them soft, place another paper towel on top of them.
Rotis are best enjoyed hot with your preferred grilled meats or curries. For breakfast or as a snack, they can also be eaten plain or with spreads like jam or butter.
Advice for Making the Ideal Rotis
Water Temperature: To make softer rotis, always use boiling water.
The secret to getting flexibility is to knead thoroughly.
Resting Time: Resting greatly enhances texture, so don’t neglect it.
Cooking Temperature: Before adding the roti, make sure your pan is hot enough; too low heat will produce hard rotis.
Rolling Technique: To guarantee consistent thickness, roll out with even pressure.
Roti Variations
Traditional butter roti is delicious by itself, but you can try a variety of variations:
Roti with Garlic
For a fragrant variation that goes well with curries, mix minced garlic with melted butter and brush over cooked rotis.
Roti made with whole wheat
Use whole wheat flour instead of all-purpose flour for a healthier alternative. This version preserves flavor while adding fiber and minerals.
Roti Stuffed
Make packed rotis with paneer (Indian cottage cheese) or spicy potatoes for people who like heartier meals. Just prepare your filling in advance, then put it into the rolled-out dough, seal it, and cook it.
In South African cuisine, roti has a great cultural significance. In addition to providing sustenance, it also symbolizes tradition and community. Many families have passed down their own special recipes over the years. Rotis sharing at meals encourages celebration and camaraderie among friends and family.
Making rotis is frequently a family activity in many Indian homes in South Africa, when family members congregate in the kitchen to help prepare this popular bread. This custom fortifies relationships and forges enduring memories around food, which is a real tribute to its importance in daily life.
In summary
With patience and effort, the art of creating silky butter rotis can be perfected. This roti recipe is accessible to anybody who wants to add a little bit of South Africa to their kitchen because it uses basic ingredients and easy-to-follow instructions. Savor these delicious flatbreads right out of the oven!